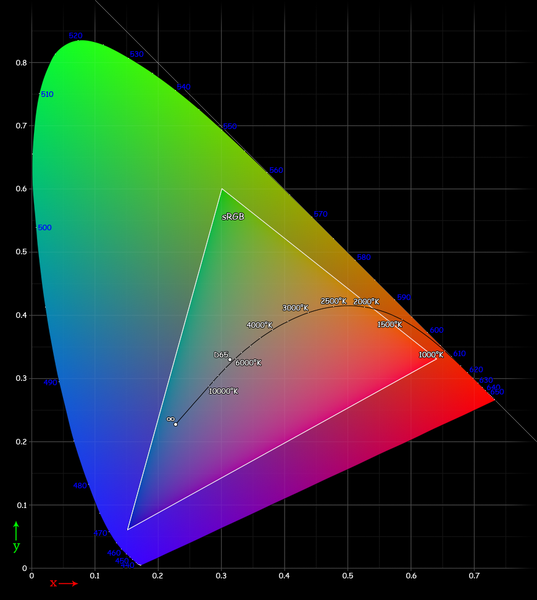
When you get a new digital camera, one of the bewildering number of options available to you in set up is to change the color space: sRGB, Adobe 1998, or even ProPhoto RGB (only certain cameras). Each of these has a wider color gamut than the last. That’s a fancy way to say that they can see many more colors–and thus produce an image with more of the hue subtlety that nature offers.
Then there’s the color space, known as the working color space, that you use when processing an image in Photoshop. This usually is the color space that the image came in, but you can assign a new working color space just for the purposes of your particular monitor, etc. More on that in a future post.
Finally, there’s the output color space–the space that you convert your image to just before turning that image out for a client, a printer or for publication on a site.
No matter what color space your image is assigned in-camera or in your photo editing program, make sure to consider converting your image to sRGB if it is intended for web display, for printing at a photo lab or if it is being sent to a client who has a PC (when in doubt, assume the viewer’s computer is a PC!).
Why? sRGB displays a more limited set of colors, but it’s a color space made for PC screens–and most computers out there are PCs, not 27-inch calibrated Mac screens like mine.
To convert an image to a new color space in Photoshop, go to Edit–>Convert to Profile and choose the sRGB option from the drop-down menu. If you use Lightroom or other programs, many of them have an “convert to sRGB” option when exporting images.
Paying attention to the color space your photos are captured in and imaged in is important, but it’s equally important to convert to sRGB unless you know that your images are going to an offset printer (CMYK color space) or to someone who has a nice, big Mac computer just like you. Your images will display better and your clients will be happier, too.
