Category Tutorials

Introducing: Light Matters

Light Matters


It’s been a very eventful week for me personally and professionally.  On October 2, I published my first book, Light Matters: A Photographer’s Guide to Lighting with Flash on Location .

Light Matters is more than the realization of a childhood dream to write and publish a book.   It’s my approach to lighting when on assignment, reduced to actionable tips.  Each suggestion is informed by my own experiences and, often, by my missteps and mistakes over 20-odd years as a shooter.

My working title for the book was simple: Move, Light, Shoot.  Purposeful experimentation keeps one from getting stuck and kicks creativity in the behind.   You can’t master flash—or anything else—without taking direct action, assessing the results, and adjusting your approach.

To that end, the guide is full of tips and practice exercises that any serious amateur or natural-light pro would find useful as they stretch their lighting muscles.

I write in the intro that I wish I had a book like  Light Matters in my camera bag when I was coming up.

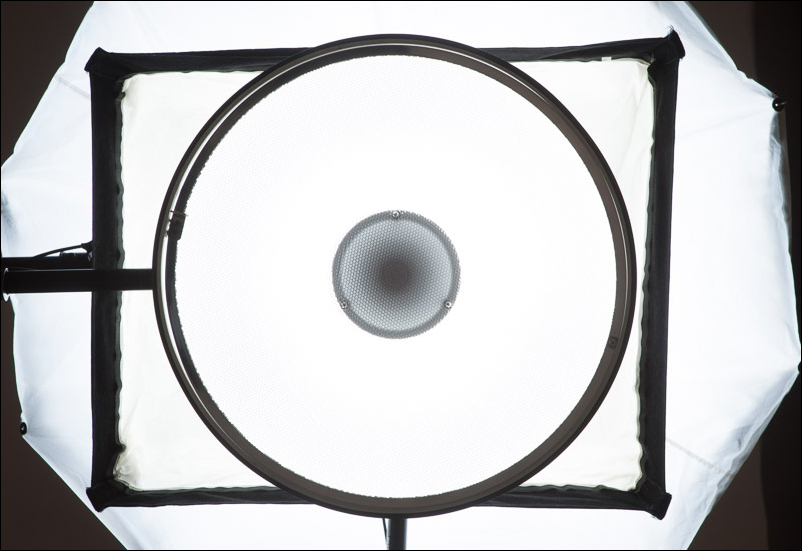
Most photo book contain endless lighting diagrams, three-point lighting setups and exact recipes allowing readers to duplicate the example photographs.  I’d rather give readers tips that force them to think and tools to help them succeed.  A simple Google search will provide any number of lighting setups.  Few resources give you tips on shaping your shoot, dealing well with your clients and with the many inevitable issues that arise on location.

Above all I hope the guide is useful. That it prompts photographers to think and to stretch themselves. If it saves a photographer just a smidge of the grief that would have otherwise come to them, then I’ll be happy.

I’m so thankful to my group of advance readers–my Dream Team–comprised primarily of photographers I know and trust around the country. Their feedback helped shape the final product and made it shine.

I’m grateful that during its first week of publication, Light Matters reached #1 in two categories in the Kindle store. Mind blown.

As a companion to the book, I’ve created two resources. One is the page on my site, www.lightmattersguide.com, where I’ll be posting additional information about the book, downloadable excerpts and other resources as they come available. The other is a private Facebook group  Light Matters , set up to discuss the exercises and concepts in the book.

Please check out Light Matters on Amazon, and let me know what you think.

Light modifiers: why shape does (and doesn’t) matter

Light_modifiers_by_Brian_Fitzgerald_h
What’s better:   a light modifier with a square shape, or one with a circular shape?This question is one I’ve thought about a lot.  I’m guessing most other photographers have, too .   If you’ve shopped for light modifiers you’ve encountered a bazillion light mods that fall predominantly into just two types:  round or square (or rectangular).  Round modifiers would include things like  umbrellas, octaboxes and beauty dishes.  Square or rectangular-shaped modifiers are things like softboxes, reflectors, scrims and light panels.

Photo gear and marketing hype go hand in hand.   But there are just a couple of factors that determine which shape of modifier I’ll choose for a shoot.   Number one is the effect of the catchlight in my subject’s eyes.  I prefer a round catchlight—maybe just a subconscious preference for a light source shaped like the sun.   If I were simulating an open doorway or the light from a window, a softbox would be my choice instead.

There are a bunch of other considerations when choosing a modifier that are partly determined by the shape of the modifier but also by the material and construction of the modifier itself.   I may decide I want directional lighting, with harsh, defined areas of light and shadow. Or, I may opt for a soft, diffuse, enveloping quality of light that wraps around my subject.   This has less to do with the shape of the modifier than by the size of the modifier relative to the subject (larger=softer light).

For me, the shape only becomes a deciding factor when I want to control the light precisely and thus I might use a square softbox rather than an umbrella because I want the light to have a more defined fall-off or edge.

My favorite light-mod, especially on location: the beauty dish. © Brian Fitzgerald

You can find many descriptions elsewhere of the effects of different light modifiers, but I like this resource from light manufacturer Paul C. Buff that clearly shows the effects of various different light mods.

Who needs a light meter?

Hand_Meter_Fitzgerald


Back in the film days, a light meter was the most ubiquitous piece of equipment found in the bag of any respectable photographer.  For years I carried a Gossen Luna Star Pro, which measured ambient and strobe light as well.   It served me faithfully until finally, a duct-tape-covered horror with parts hastily soldered back together, it gave up the ghost.

I never replaced it.

I can’t remember the last time I’ve used (or really needed to use) a light meter.   Plenty of professionals use them still—in particular in situations where proper exposure is critical, such as studio and product shoots.   There are times when having one would make my life easier, perhaps…..But I’ll admit it: I don’t use hand-held light meters.  The closest I get is using the built-in meter in my DSLR camera.   It serves me well as a starting point when measuring light in reflected light situations.

The built-in meter of a DSLR camera does the best job when the subject is uniformly lit and comprised of tones with a medium reflective value.   But let’s be honest—how often is that the case?   More likely, you’re photographing someone in a dark coat in the snow, or someone in a white T-shirt with dark woods or a shadowy doorway behind them.  These are situations that will seriously fool with your built-in sensor and give incorrect exposure readings.

That’s why so many photographers use a gray card to determine exposure.    A gray card is nothing more than a piece of fabric or cardboard that has a gray surface on one side and usually a white surface on the other.   The gray side reflects 18% of the light that hits it.   Your camera’s meter is calibrated to view a gray card as a neutral (middle) tone, halfway been white and black.   Thus if you take a meter reading while pointing your camera at a gray card, you’ll get a reading that you can then apply to your real subject under the same lighting conditions.     Next time you’re shooting a person standing in the middle of a snowy field, whip out your gray card, point your lens at the card (filling the frame with the card) and take a reading.   Then manually set your camera to match those same settings, recompose your shot with your actual subject, and fire away.  You may not get a perfect exposure, but you’ll be close in most situations.

What do you do if you don’t have a gray card, or if you’re in the middle of a location where it’s difficult to use one?   Easy.   That’s when I use my tried-and-true photojournalist trick:   I stick out my hand, palm upturned and fingers together, and use that as my gray card.   The skin on your hand isn’t gray, but it will provide a reading close to the proper exposure.   I’ve found that opening up my exposure by a half or full stop produces great results.